Hello Guys, welcome back to another blog from The Coding Hubs. Today in this tutorial we are going to make a Calculator in HTML CSS and JavaScript
I am a Programmer and Content creator, writing programs and blogs since 2015 and I know how to Make a Calculator with HTML CSS and JavaScript easily and step by step.
Introduction
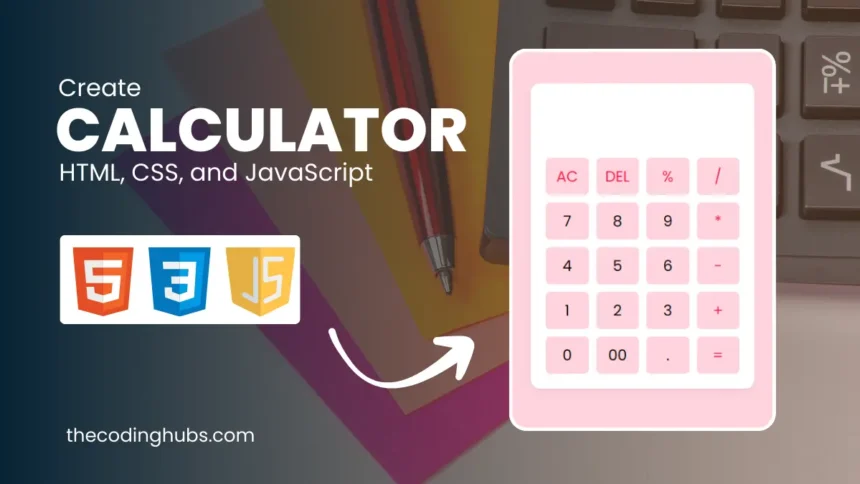
Here in this image, you can see this calculator design and we can perform all the calculations using the calculator. we can also perform all the operations like division, multiplication, addition, subtraction, and many more. This is a working calculator using HTML CSS and JavaScript. Recently I created a Create a Chatbot with HTML CSS and JavaScript I believe you will also help to enhance your web development skills.
Video of Calculator in HTML CSS and JavaScript
Steps to Make Calculator in HTML CSS and JavaScript
To make a working calculator with HTML, CSS, and JavaScript, follow the given steps line by line:
Make a new folder and give your project whatever name you like. The three files that I have made are index.html, style.css, and script.js. My project is named Calculator. The basis of your calculator will be these files.
After creating these files, copy and paste the provided codes into the appropriate files. If you would rather not do this, scroll down and click the provided download button to get the Calculator’s source code files.
Code to Make Calculator in HTML CSS and JavaScript
Step 1: Write HTML Code
First, open your index.html file and put the following code into it.
<!DOCTYPE html>
<html lang="en">
  <head>
    <meta charset="UTF-8" />
    <meta http-equiv="X-UA-Compatible" content="IE=edge" />
    <meta name="viewport" content="width=device-width, initial-scale=1.0" />
    <title>Calculator in HTML CSS & JavaScript</title>
    <link rel="stylesheet" href="style.css" />
  </head>
  <body>
    <div class="container">
      <input type="text" class="display" />

      <div class="buttons">
        <button class="operator" data-value="AC">AC</button>
        <button class="operator" data-value="DEL">DEL</button>
        <button class="operator" data-value="%">%</button>
        <button class="operator" data-value="/">/</button>

        <button data-value="7">7</button>
        <button data-value="8">8</button>
        <button data-value="9">9</button>
        <button class="operator" data-value="*">*</button>

        <button data-value="4">4</button>
        <button data-value="5">5</button>
        <button data-value="6">6</button>
        <button class="operator" data-value="-">-</button>

        <button data-value="1">1</button>
        <button data-value="2">2</button>
        <button data-value="3">3</button>
        <button class="operator" data-value="+">+</button>

        <button data-value="0">0</button>
        <button data-value="00">00</button>
        <button data-value=".">.</button>
        <button class="operator" data-value="=">=</button>
      </div>
    </div>

    <script src="script.js"></script>
  </body>
</html>
Step 2: Write CSS Code
Second, open your style.css file and put the following code into it.
/* Import Google font - Poppins */
@import url("https://fonts.googleapis.com/css2?family=Poppins:wght@300;400;500;600;700&display=swap");
* {
  margin: 0;
  padding: 0;
  box-sizing: border-box;
  font-family: "Poppins", sans-serif;
}
body {
  height: 100vh;
  display: flex;
  align-items: center;
  justify-content: center;
  background: #ff184e2f;
}
.container {
  position: relative;
  max-width: 300px;
  width: 100%;
  border-radius: 12px;
  padding: 10px 20px 20px;
  background: #fff;
  box-shadow: 0 5px 10px rgba(0, 0, 0, 0.05);
}
.display {
  height: 80px;
  width: 100%;
  outline: none;
  border: none;
  text-align: right;
  margin-bottom: 10px;
  font-size: 25px;
  color: #000e1a;
  pointer-events: none;
}
.buttons {
  display: grid;
  grid-gap: 10px;
  grid-template-columns: repeat(4, 1fr);
}
.buttons button {
  padding: 10px;
  border-radius: 6px;
  border: none;
  font-size: 20px;
  cursor: pointer;
  background-color: #ff184e2f;
}
.buttons button:active {
  transform: scale(0.99);
}
.operator {
  color: #FF184E;
}
Step 3: Write JavaScript Code
Third, open your script.js file and put the following script into it.
const display = document.querySelector(".display");
const buttons = document.querySelectorAll("button");
const specialChars = ["%", "*", "/", "-", "+", "="];
let output = "";

//Define function to calculate based on button clicked.
const calculate = (btnValue) => {
  display.focus();
  if (btnValue === "=" && output !== "") {
    //If output has '%', replace with '/100' before evaluating.
    output = eval(output.replace("%", "/100"));
  } else if (btnValue === "AC") {
    output = "";
  } else if (btnValue === "DEL") {
    //If DEL button is clicked, remove the last character from the output.
    output = output.toString().slice(0, -1);
  } else {
    //If output is empty and button is specialChars then return
    if (output === "" && specialChars.includes(btnValue)) return;
    output += btnValue;
  }
  display.value = output;
};

//Add event listener to buttons, call calculate() on click.
buttons.forEach((button) => {
  //Button click listener calls calculate() with dataset value as argument.
  button.addEventListener("click", (e) => calculate(e.target.dataset.value));
});
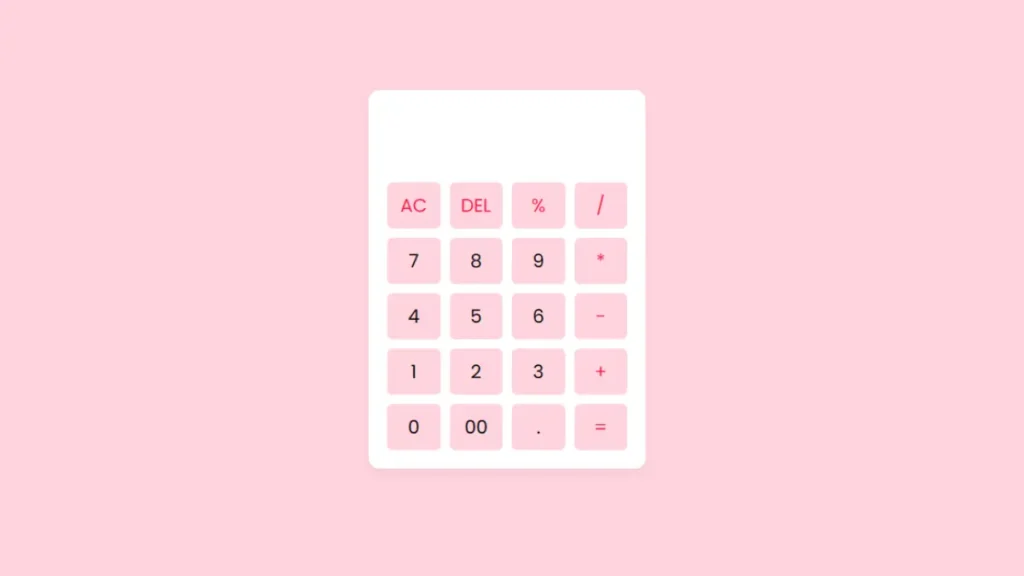
The Output of Calculator in HTML CSS and JavaScript
Clicking the download option will allow you to get the source code files for this calculator at no cost. This will be helpful if you are having trouble making your code or if it isn’t functioning as it should.
Download Calculator Source Code
Conclusion
In this blog, I shared how to build a Calculator in HTML CSS and JavaScript. I hope you enjoyed reading this blog and found helpful information on the Calculator in HTML CSS and JavaScript. So finally we have completed this calculator using HTML CSS and JavaScript I hope this blog will benefit you if you have any questions you can ask me in the comment section.