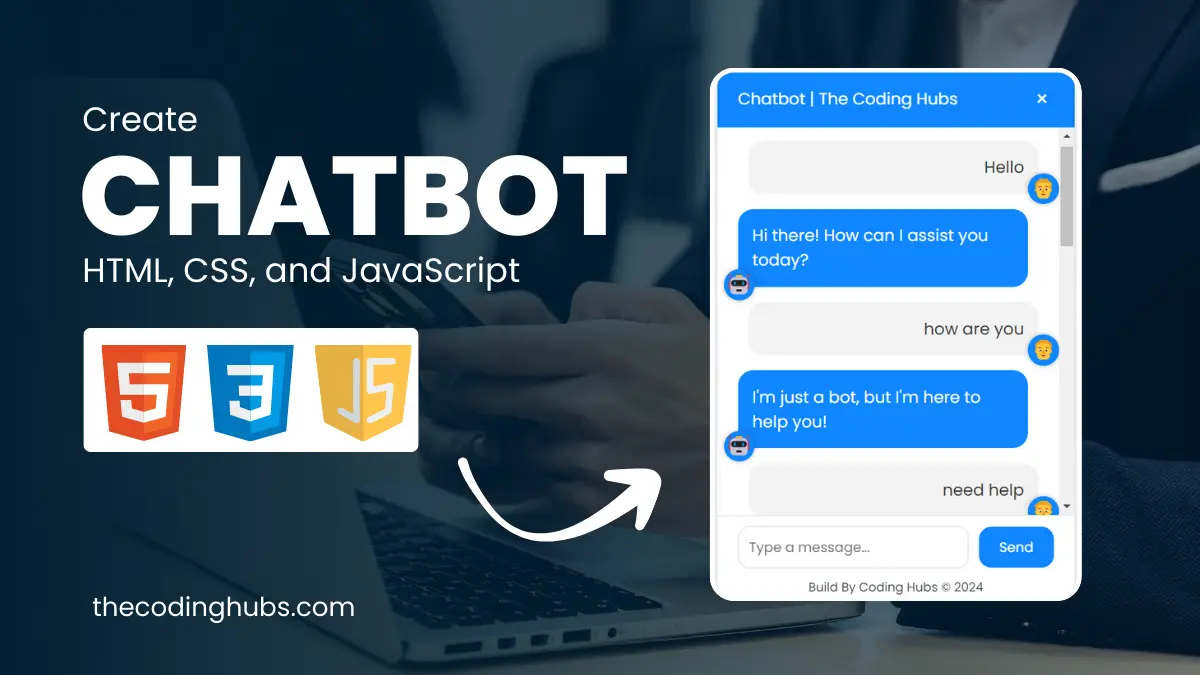
Hello Guys, welcome back to another blog from The Coding Hubs. Today in this tutorial we are going to Create a Chatbot with HTML CSS and JavaScript. We are going to use HTML CSS and JavaScpit to build this Chatbot.
I am a Programmer and Content creator, writing programs and blogs since 2015 and I know how to build Chatbot with HTML CSS and JavaScript easily and step by step.
In this blog, I am going to tell you by step-by-step process of how to Create a Chatbot with HTML CSS and JavaScript. I’ll walk you through the process step-by-step so you can also build the same Chatbot with HTML CSS and JavaScript and get the same outcome as me. If you want to build a working Chatbot with HTML CSS and JavaScript for your website or business, this blog has been written for beginners and advanced developers and designers.
You will be able to create, build, and implement a Chatbot with HTML CSS and JavaScript on your website once you have finished reading this complete blog. Thus, this blog is intended for developers who want to add a new ability to their toolset or business owners who want to enhance customer service.
What is a Chatbot?
A chatbot is a collection of various tools and technology that assist developers in offering their clients assistance at all times. A chatbot is used to assist and support a user based on their requirements. Chatbots improve user interface design and provide accurate results. We will build a Chatbot with HTML CSS and JavaScript
Read More: Netflix clone using HTML, CSS, and JavaScript
Features of Chatbot with HTML CSS and JavaScript
Here are some features of the Chatbot with HTML CSS and JavaScript
- Interactive Chat Interface
- Toggle Button
- Responsive Design
- Link Integration
- User Input
- ChatBot Responses
- Styling and Customization
- Option for Expert Assistance
Read More: Create BMI Calculator Using HTML, CSS, and JavaScript
Steps To Create Chatbot with HTML CSS and JavaScript
Step 1: Write Html Code
We will need to first generate a basic HTML file to get started. We’ll add our chatbot’s main structure in this file. Such that it may be properly displayed by a web browser. Save the file with the .html extension.
<!DOCTYPE html>
<html lang="en">
<head>
<meta charset="UTF-8">
<meta name="viewport" content="width=device-width, initial-scale=1.0">
<title>Chatbot | The Coding Hubs</title>
<link rel="stylesheet" href="style.css"></head>
<link rel="preconnect" href="https://fonts.googleapis.com">
<link rel="preconnect" href="https://fonts.gstatic.com" crossorigin>
<link href="https://fonts.googleapis.com/css2?family=Poppins:ital,wght@0,100;0,200;0,300;0,400;0,500;0,600;0,700;0,800;0,900;1,100;1,200;1,300;1,400;1,500;1,600;1,700;1,800;1,900&display=swap" rel="stylesheet">
<body>
<button id="chatbot-toggle-btn"><img src="chatbot.png" alt="buttonpng" /></button>
<div class="chatbot-popup" id="chatbot-popup">
<div class="chat-header">
<span>Chatbot | <a href="https://www.thecodinghubs.com/" target="_blank">The Coding Hubs</a></span>
<button id="close-btn">×</button>
</div>
<div class="chat-box" id="chat-box"></div>
<div class="chat-input">
<input type="text" id="user-input" placeholder="Type a message...">
<button id="send-btn">Send</button>
</div>
<div class="copyright">
<a href="https://www.thecodinghubs.com/" target="_blank">Build By Coding Hubs © 2024</a>
</div>
</div>
<script src="script.js"></script>
</body>
</html>
Step 2: Write CSS code
After the HTML code has been created. It’s time to develop the CSS code. To do that, a new CSS file with the .css extension must be created. The structure of the web page is styled using CSS code. We may control the visual style of the website with CSS, including components like color, font, and layout.
body {
    font-family: "Poppins", sans-serif;
    margin: 0;
    padding: 0;
    background-color: #f9f9f9;
    display: flex;
    justify-content: center;
    align-items: center;
    height: 100vh;
}

.chat-header a{
    text-decoration:none;
    color: white;
}

.copyright{
    font-size:12px;
    text-align: center;
}

.copyright a {
    text-decoration:none;
    color: #343c41;
}

#chatbot-toggle-btn {
    position: fixed;
    bottom: 20px;
    right: 20px;
    padding: 12px 15px;
    border: none;
    background-color: #1087FF;
    color: #fff;
    border-radius: 30px;
    font-size: 16px;
    cursor: pointer;
    transition: all 0.3s ease;
    z-index: 1001; /* Ensure the button is above the chatbot popup */
}

#chatbot-toggle-btn:hover {
    background-color: #0074CC;
}

.chatbot-popup {
    display: none;
    position: fixed;
    bottom: 90px;
    right: 20px;
    background-color: #fff;
    border-radius: 15px;
    box-shadow: 0 2px 5px rgba(0, 0, 0, 0.2);
    width: 350px;
    max-width: 90%;
    z-index: 1000;
}

.chat-header {
    background-color: #1087FF;
    color: #fff;
    padding: 15px 20px;
    border-top-left-radius: 15px;
    border-top-right-radius: 15px;
    display: flex;
    justify-content: space-between;
    align-items: center;
}

#close-btn {
    background-color: transparent;
    border: none;
    color: #fff;
    font-size: 20px;
    cursor: pointer;
}

.chat-box {
    max-height: 350px;
    overflow-y: auto;
    padding: 15px 20px;
}

.chat-input {
    display: flex;
    align-items: center;
    padding: 10px 20px;
    border-top: 1px solid #ddd;
}

#user-input {
    font-family: "Poppins";
    flex: 1;
    padding: 10px;
    border: 1px solid #ddd;
    border-radius: 12px;
    outline: none;
}

#send-btn {
    font-family: "Poppins", sans-serif;
    padding: 10px 20px;
    border: none;
    background-color: #1087FF;
    color: #fff;
    border-radius: 12px;
    margin-left: 10px;
    cursor: pointer;
    transition: background-color 0.3s ease;
}

#send-btn:hover {
    background-color: #0074CC;
}

.user-message {
    background-color: #f3f3f3;
    color: #333;
    padding: 14px;
    border-radius: 15px;
    margin-bottom: 15px;
    margin-top: 15px;
    margin-left: 10px; /* Push user message to the left */
    position: relative;
    display: flex;
    align-items: center;
    flex-direction: row-reverse; /* Move user message to the right */
}

.user-message::before {
    content: "\1F468"; /* Man emoji */
    position: absolute;
    bottom: -17px;
    right: -20px;
    margin-bottom: 7px;
    font-size: 20px;
    background-color: #1087FF;
    color: #fff;
    border-radius: 50%;
    width: 30px;
    height: 30px;
    display: flex;
    justify-content: center;
    align-items: center;
    box-shadow: 0 0 5px rgba(0, 0, 0, 0.3);
}

.bot-message {
    background-color: #1087FF;
    color: #fff;
    padding: 14px;
    border-radius: 15px;
    margin-bottom: 10px;
    margin-top: 15px;
    align-self: flex-start; /* Move bot message to the left */
    margin-right: 10px; /* Push bot message to the right */
    position: relative;
    display: flex;
    align-items: center;
    flex-direction: column; /* Adjust for button placement */
}

.bot-message::before {
    content: "\1F916"; /* Robot emoji */
    position: absolute;
    bottom: -17px;
    left: -14px;
    margin-bottom: 4px;
    font-size: 20px;
    background-color: #1087FF;
    color: #fff;
    border-radius: 50%;
    width: 30px;
    height: 30px;
    display: flex;
    justify-content: center;
    align-items: center;
    box-shadow: 0 0 5px rgba(0, 0, 0, 0.3);
}

.button-container {
    display: flex;
    justify-content: space-around;
    margin-top: 10px;
}

.button-container button {
    padding: 10px 50px;
    border: none;
    background-color: #1087FF;
    color: #fff;
    border-radius: 10px;
    cursor: pointer;
    transition: background-color 0.3s ease;
}

.button-container button:hover {
    background-color: #0074CC;
}
Step 3: Write JavaScript Code
The last step is creating a JavaScript chat function. We must create the JavaScript file before we can write the JavaScript code. Create a script.js file and paste the above code into it to ensure that your JavaScript file is correctly connected to your HTML file. The scripts on the page will be able to run as a result. Remember that a file with the.js extension has to be created.
const responses = {
    "hello": "Hi there! How can I assist you today?",
    "coding hubs": "Here you will get Notes, Ebooks, project source Code, Interview questions. visit Coding Hubs.<a href='https://thecodinghubs.com' target='_blank'>Visit Website</a>",
    "how are you": "I'm just a bot, but I'm here to help you!",
    "need help": "How I can help you today?",
    "bye": "Goodbye! Have a great day!",
    "default": "I'm sorry, I didn't understand that. Want to connect with expert?",
    "expert": "Great! Please wait a moment while we connect you with an expert.",
    "no": "Okay, if you change your mind just let me know!"
};

document.getElementById('chatbot-toggle-btn').addEventListener('click', toggleChatbot);
document.getElementById('close-btn').addEventListener('click', toggleChatbot);
document.getElementById('send-btn').addEventListener('click', sendMessage);
document.getElementById('user-input').addEventListener('keypress', function(e) {
    if (e.key === 'Enter') {
        sendMessage();
    }
});

function toggleChatbot() {
    const chatbotPopup = document.getElementById('chatbot-popup');
    chatbotPopup.style.display = chatbotPopup.style.display === 'none' ? 'block' : 'none';
}

function sendMessage() {
    const userInput = document.getElementById('user-input').value.trim();
    if (userInput !== '') {
        appendMessage('user', userInput);
        respondToUser(userInput.toLowerCase());
        document.getElementById('user-input').value = '';
    }
}

function respondToUser(userInput) {
    const response = responses[userInput] || responses["default"];
    setTimeout(function() {
        appendMessage('bot', response);
    }, 500);
}

function appendMessage(sender, message) {
    const chatBox = document.getElementById('chat-box');
    const messageElement = document.createElement('div');
    messageElement.classList.add(sender === 'user' ? 'user-message' : 'bot-message');
    messageElement.innerHTML = message;
    chatBox.appendChild(messageElement);
    chatBox.scrollTop = chatBox.scrollHeight;
    if (sender === 'bot' && message === responses["default"]) {
        const buttonYes = document.createElement('button');
        buttonYes.textContent = '✔ Yes';
        buttonYes.onclick = function() {
            appendMessage('bot', responses["expert"]);
        };
        const buttonNo = document.createElement('button');
        buttonNo.textContent = '✖ No';
        buttonNo.onclick = function() {
            appendMessage('bot', responses["no"]);
        };
        const buttonContainer = document.createElement('div');
        buttonContainer.classList.add('button-container');
        buttonContainer.appendChild(buttonYes);
        buttonContainer.appendChild(buttonNo);
        chatBox.appendChild(buttonContainer);
    }
}
Read More: Ecommerce Website Source Code
The output of Chatbot with HTML CSS and JavaScript
Conclusion
In this blog, I shared how to build a Chatbot with HTML CSS and JavaScript. I hope you enjoyed reading this blog and found the information provided on the Chatbot with HTML CSS and JavaScript helpful. if you have any questions you can ask me in the comment section
Frequently Asked Questions (FAQs)
Which code editor do you use for this Chatbot project coding?
Using VS Code Studio is something I suggest doing because it’s simple to use and simple.
How do I start building a chatbot with HTML?
To start, create a simple HTML file in which you will outline the general structure of your chatbot. This file will act as the base upon which a web browser will show the chatbot.
How To Add Chatbot In Website Using Html?
In a folder named index.html, style.css, and app.js, you need to create three files. It’s important to keep in mind that although the file or folder name might be changed, the extension remains the same. For example, HTML files have the.html extension. It could resemble index.html. Your chatbot is now ready to be added to your website anywhere you see fit once files have been created and this code included.
What is a Chatbot?
A chatbot is a collection of various tools and technology that assist developers in offering their clients assistance at all times. A chatbot is used to assist and support a user based on their requirements. Chatbots improve user interface design and provide accurate results. We will build a Chatbot with HTML CSS and JavaScript